Introduction to the KitchenAid Mixer and its capabilities
Welcome to the world of baking bliss with your trusty KitchenAid Mixer by your side! If you’re a baking enthusiast or just getting started on your culinary journey, this powerhouse appliance is about to become your new best friend. Get ready to unlock the full potential of your KitchenAid Mixer as we delve into tips and tricks that will elevate your baking game to new heights. From whipping up fluffy cakes to kneading dough for artisan bread, the possibilities are endless when you harness the power of this versatile kitchen essential. Let’s dive in and discover how you can unleash the magic of your KitchenAid Mixer for baking success!
The benefits of using a KitchenAid Mixer for baking
If you’re a baking enthusiast, the KitchenAid Mixer is your best friend in the kitchen. Its powerful motor and various attachments make whipping up delicious treats a breeze.
One of the main benefits of using a KitchenAid Mixer is its ability to mix ingredients thoroughly and evenly, ensuring consistent results every time. No more lumps or uneven batters!
The mixer’s hands-free operation allows you to multitask while it does all the hard work for you. Say goodbye to sore arms from endless stirring and beating.
With different speed settings, you have full control over how gently or vigorously you want your ingredients mixed, giving you precision in your baking.
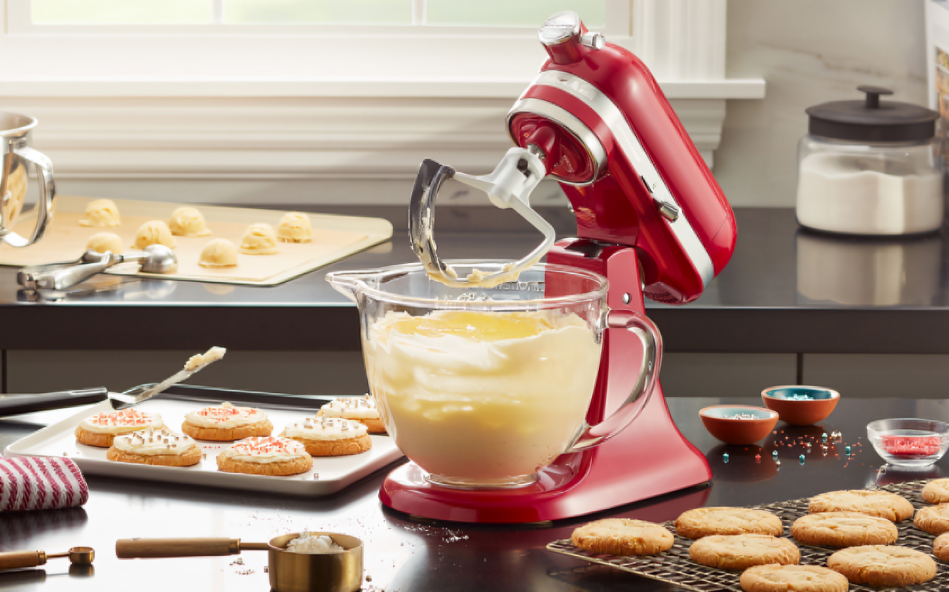
Not only does the KitchenAid Mixer save time and effort, but it also adds a touch of elegance to your kitchen countertop with its sleek design and array of color options available.
Tips for selecting the right attachments for your baking needs
When it comes to baking with your KitchenAid Mixer, having the right attachments can make all the difference in achieving perfect results. The first step is to assess your baking needs – are you into making bread, cakes, cookies, or a mix of everything?
For cake bakers, the flat beater attachment is ideal for mixing batter smoothly and evenly. If cookies are more your thing, the paddle attachment works wonders for creaming butter and sugar to perfection. And for those who love homemade bread, the dough hook is a must-have accessory for kneading dough effortlessly.
Don’t forget about specialty attachments like the whisk for whipping up fluffy meringues or frostings. The pasta roller attachment opens up a whole new world of fresh pasta-making possibilities right in your kitchen.
Take some time to explore which attachments suit your baking style best – it’s worth it!
Step-by-step guide on how to use the KitchenAid Mixer for different types of desserts (cakes, cookies, breads)
Whether you’re a baking novice or a seasoned pro, mastering the art of using your KitchenAid Mixer for various desserts can take your culinary skills to the next level. Let’s dive into the step-by-step guide on how to harness the full potential of this versatile kitchen appliance.
For cakes, start by attaching the paddle attachment and creaming together butter and sugar until light and fluffy. Gradually add in eggs and dry ingredients while mixing on low speed to avoid overmixing. For cookies, switch to the dough hook attachment and mix together cookie dough ingredients until just combined.
When it comes to breads, swap out for the dough hook again and knead bread dough until it forms a smooth ball. Allow it to rise before shaping it for baking. Remember, each dessert requires different techniques with your KitchenAid Mixer – so don’t be afraid to experiment!
With these simple steps, you’ll be whipping up decadent cakes, delicious cookies, and artisanal bread like a true baking maestro in no time!
Creative ways to utilize the mixer for non-baking tasks (e.g. shredding chicken)
Have you ever thought about using your trusty KitchenAid Mixer for tasks beyond baking? Well, get ready to be amazed by its versatility! One creative way to utilize your mixer is for shredding chicken. Instead of spending precious time and effort shredding the meat by hand, simply toss cooked chicken breasts into the mixing bowl fitted with a paddle attachment. Turn it on low speed and watch as the mixer effortlessly shreds the chicken in seconds!
Not only does this save you time, but it also ensures perfectly shredded chicken every time. No more sore arms or unevenly shredded meat – just quick and consistent results thanks to your KitchenAid Mixer. Whether you need shredded chicken for tacos, salads, or sandwiches, this handy trick will become a game-changer in your kitchen routine.
So next time you’re looking for an efficient way to shred chicken without breaking a sweat, remember that your KitchenAid Mixer is more than just a baking tool – it’s a versatile kitchen assistant ready to tackle any task with ease!
Troubleshooting common issues with the mixer and how to fix them
As you continue to explore the endless possibilities of your KitchenAid Mixer, remember that practice makes perfect. Don’t be discouraged by any challenges you may face along the way – troubleshooting common issues with the mixer is part of the learning process.
By following these tips and tricks for baking success, selecting the right attachments for your needs, mastering various dessert recipes, and even discovering unconventional uses for your mixer like shredding chicken, you are well on your way to unleashing the full power of this versatile kitchen appliance.
Embrace the journey of experimenting and creating in your kitchen with your KitchenAid Mixer as your trusty sidekick. With a bit of patience and a sprinkle of creativity, there’s no limit to what you can achieve. Happy mixing!